

15 Easy Crafts Using Cardboard Boxes You Can Make at Home
Have you ever looked at an empty delivery box and wondered whether it could be useful for something else? Instead of sending it straight to the recycling bin, you can turn it into a practical organizer, a decorative item, or even a fun toy.
The best part is that most cardboard box crafts don't need expensive supplies. A few clean boxes, scissors, glue, paint, and some creativity are enough to get started.
Whether you want to organize your home, make something for your children, or enjoy a simple weekend project, these 15 ideas will help you reuse cardboard in creative ways.
Image note: The photographs below are illustrative examples of cardboard creativity and reuse. They are not photographs of every individual craft described in this tutorial.

Photo by Ron Lach on Pexels.
Why Make DIY Crafts Using Cardboard Boxes?
Cardboard is one of the easiest materials to reuse at home. It's lightweight, simple to cut, easy to fold, and available in many sizes. You can collect it from delivery packages, cereal boxes, shoe boxes, and household packaging.
Reusing cardboard also helps reduce unnecessary waste. Instead of buying a new organizer or decorative item, you can make a simple version with materials you already have.
These projects are also a good way to practice basic DIY skills. You can experiment with colors, shapes, textures, and designs without spending much money.
Supplies You Need for Cardboard Box Crafts
You don't need every supply for every project. However, keeping a small craft kit ready can make your work easier.
- Clean, dry cardboard boxes in different sizes
- Scissors
- Ruler and pencil
- Craft glue or white PVA glue
- Non-toxic acrylic paint
- Paintbrushes and markers
- Colored paper or wrapping paper
- Fabric scraps and ribbons
- Masking tape
- Cutting mat
- Recycled buttons and other decorations
Safety tip: Adults should handle craft knives and hot glue guns. Children should use age-appropriate scissors and non-toxic materials with adult supervision.
15 Easy Crafts Using Cardboard Boxes
These projects include useful home organizers, simple decorations, and creative activities for children. Choose a project that matches the cardboard you have available.
1. DIY Cardboard Storage Bins
A cardboard storage bin is a practical way to organize lightweight household items. You can use it for toys, stationery, craft supplies, scarves, or small accessories.
Materials you'll need:
- A medium-sized cardboard box
- Scissors or a craft knife
- Ruler and pencil
- Glue
- Decorative paper or fabric
- Optional cardboard for handles
How to make it:
- Choose a clean box that is large enough for the items you want to store.
- Remove the top flaps and mark an even height on all four sides.
- Cut along the marked lines to create a neat open-top bin.
- Cover the outside with wrapping paper, fabric, or colored paper.
- If you want handles, cut two small openings or attach cardboard handles to opposite sides.
- Let the glue dry before filling the bin.
Helpful tip: Add a second cardboard layer around the bottom and corners if the bin feels weak. Use it for lightweight items rather than heavy books or tools.
2. Homemade Cardboard Desk Organizer
If pens, markers, scissors, and sticky notes keep spreading across your desk, a cardboard desk organizer can give everything its own place.
Materials you'll need:
- One sturdy cardboard box
- Extra cardboard sheets
- Ruler and pencil
- Scissors
- Craft glue
- Paint or decorative paper
How to make it:
- Cut a rectangular piece of cardboard to create the organizer's base.
- Measure the height and width of the compartments you need.
- Cut cardboard strips for the outer walls and internal dividers.
- Arrange the dividers inside the base to create separate sections.
- Glue the pieces in place and check that they stand straight.
- Cover the organizer with colored paper or paint it after the glue dries.
Create one tall section for pens and scissors, plus smaller sections for paper clips, sticky notes, and other desk accessories.

Photo by Cup of Couple on Pexels.
3. Cardboard Drawer Dividers
Small items often get mixed together inside drawers. Homemade cardboard dividers can separate them without requiring plastic organizers.
Materials you'll need:
- Thin or medium-thickness cardboard
- Measuring tape or ruler
- Pencil
- Scissors
- Decorative paper (optional)
How to make it:
- Measure the inside length, width, and height of your drawer.
- Cut cardboard strips to match the drawer's dimensions.
- Decide how many compartments you want.
- Make small halfway cuts in the strips where they need to cross.
- Slide the strips together to form a grid.
- Place the finished divider inside the drawer and adjust it if necessary.
You can create narrow sections for jewelry and stationery or wider spaces for socks and accessories. Keep the cardboard slightly shorter than the drawer's inside height so it fits comfortably.
4. Decorative Cardboard Picture Frames
You don't always need to buy a new frame to display a favorite photograph. A few cardboard pieces can become a simple handmade picture frame.
Materials you'll need:
- Sturdy cardboard
- Photograph
- Ruler and pencil
- Scissors or craft knife
- Glue or tape
- Paint, buttons, ribbon, or colored paper
How to make it:
- Place your photograph on cardboard and mark a border around it.
- Cut two cardboard rectangles of the same outer size.
- On the front piece, mark and cut a smaller opening to display the photograph.
- Place the photograph between the two pieces.
- Glue the edges together, leaving an opening if you want to change the photo later.
- Decorate the front with paint, ribbon, or small cardboard shapes.
- Attach a folded cardboard stand to the back for tabletop display.
Helpful tip: Use two or three cardboard layers for the stand. A thin stand may bend when you place the frame upright.
5. DIY Cardboard Wall Art
Plain walls can look more interesting with handmade decorations. Cardboard wall art is an affordable project because you can create almost any shape or pattern.
Materials you'll need:
- Flat cardboard
- Pencil and ruler
- Scissors or craft knife
- Glue
- Acrylic paint
- Colored paper or fabric scraps
How to make it:
- Sketch a design on paper before cutting the cardboard.
- Choose simple shapes such as leaves, flowers, stars, or geometric patterns.
- Draw the shapes onto cardboard and cut them out.
- Arrange the pieces on a larger cardboard backing.
- Glue them in place to create a layered design.
- Paint the artwork or cover individual shapes with patterned paper.
- Allow everything to dry before attaching a suitable hanging method.
Keep the finished decoration lightweight. Use a wall hanger that can safely support it.
6. Homemade Cardboard Gift Boxes
A handmade gift box can make a small present feel more thoughtful. You can customize its size, color, and decoration for birthdays, celebrations, or handmade gifts.
Materials you'll need:
- Stiff cardboard
- Ruler and pencil
- Scissors
- Craft glue
- Decorative paper
- Ribbon
How to make it:
- Measure the item you want to place inside the box.
- Draw a simple box template with a base, four sides, and joining tabs.
- Add a little extra space so the gift fits comfortably.
- Cut around the outer edges of the template.
- Score the folding lines gently with a blunt tool.
- Fold the sides upward and glue the tabs inside the corners.
- Make a separate lid using a slightly larger template.
- Cover the box and lid with decorative paper.
- Finish with a ribbon or simple handmade label.
Use thicker cardboard if the gift needs extra support. This type of box is best for lightweight gifts.
7. DIY Cardboard Pencil Holders
A pencil holder is one of the easiest cardboard crafts for beginners. It takes only a few materials and helps keep stationery organized.
Materials you'll need:
- Empty cardboard tube or cardboard sheet
- Small cardboard piece for the base
- Glue
- Scissors
- Paint or decorative paper
How to make it:
- Find a clean cardboard tube or roll a rectangular cardboard sheet into a cylinder.
- Join the edges with glue or tape.
- Place the cylinder on a cardboard sheet and trace its bottom circle.
- Cut out the circle and attach it firmly to the cylinder.
- Add another cardboard layer to the base if it feels weak.
- Cover the outside with colored paper or paint.
- Let it dry before adding pens and pencils.
You can make several holders in different heights and arrange them together to create a matching stationery set.
8. DIY Cardboard Magazine Holder
Magazines, notebooks, and loose papers can quickly clutter a desk or shelf. A cardboard magazine holder gives them a simple storage space.
Materials you'll need:
- A sturdy cardboard box
- Ruler and pencil
- Craft knife or scissors
- Extra cardboard strips
- Glue
- Decorative paper or paint
How to make it:
- Place the box upright and decide how tall you want the holder to be.
- Draw a slanted line across the front and side panels.
- Carefully cut along the marked lines to create the open magazine-holder shape.
- Reinforce the bottom and sides with extra cardboard if needed.
- Cover the outside with decorative paper or paint.
- Allow the finish to dry before placing magazines or notebooks inside.
Make separate holders for documents, magazines, and children's reading materials. Label each one to find things more easily.
9. Cardboard Playhouse for Kids
A large cardboard box can become a little pretend house for children. It is a fun activity that gives them a chance to help with decorating and imaginative play.
Materials you'll need:
- One large, clean cardboard box
- Pencil and ruler
- Child-safe paint or washable markers
- Colored paper
- Tape
- Scissors for adult use
How to make it:
- Choose a large box with enough room for a child to sit or play comfortably.
- Place it on a flat, stable surface.
- Draw a door and windows on the sides.
- An adult should cut the openings carefully and smooth any rough edges.
- Reinforce weak corners with extra cardboard and tape.
- Let children decorate the outside with washable markers or child-safe paint.
- Add simple details such as curtains, a mailbox, or a pretend garden.
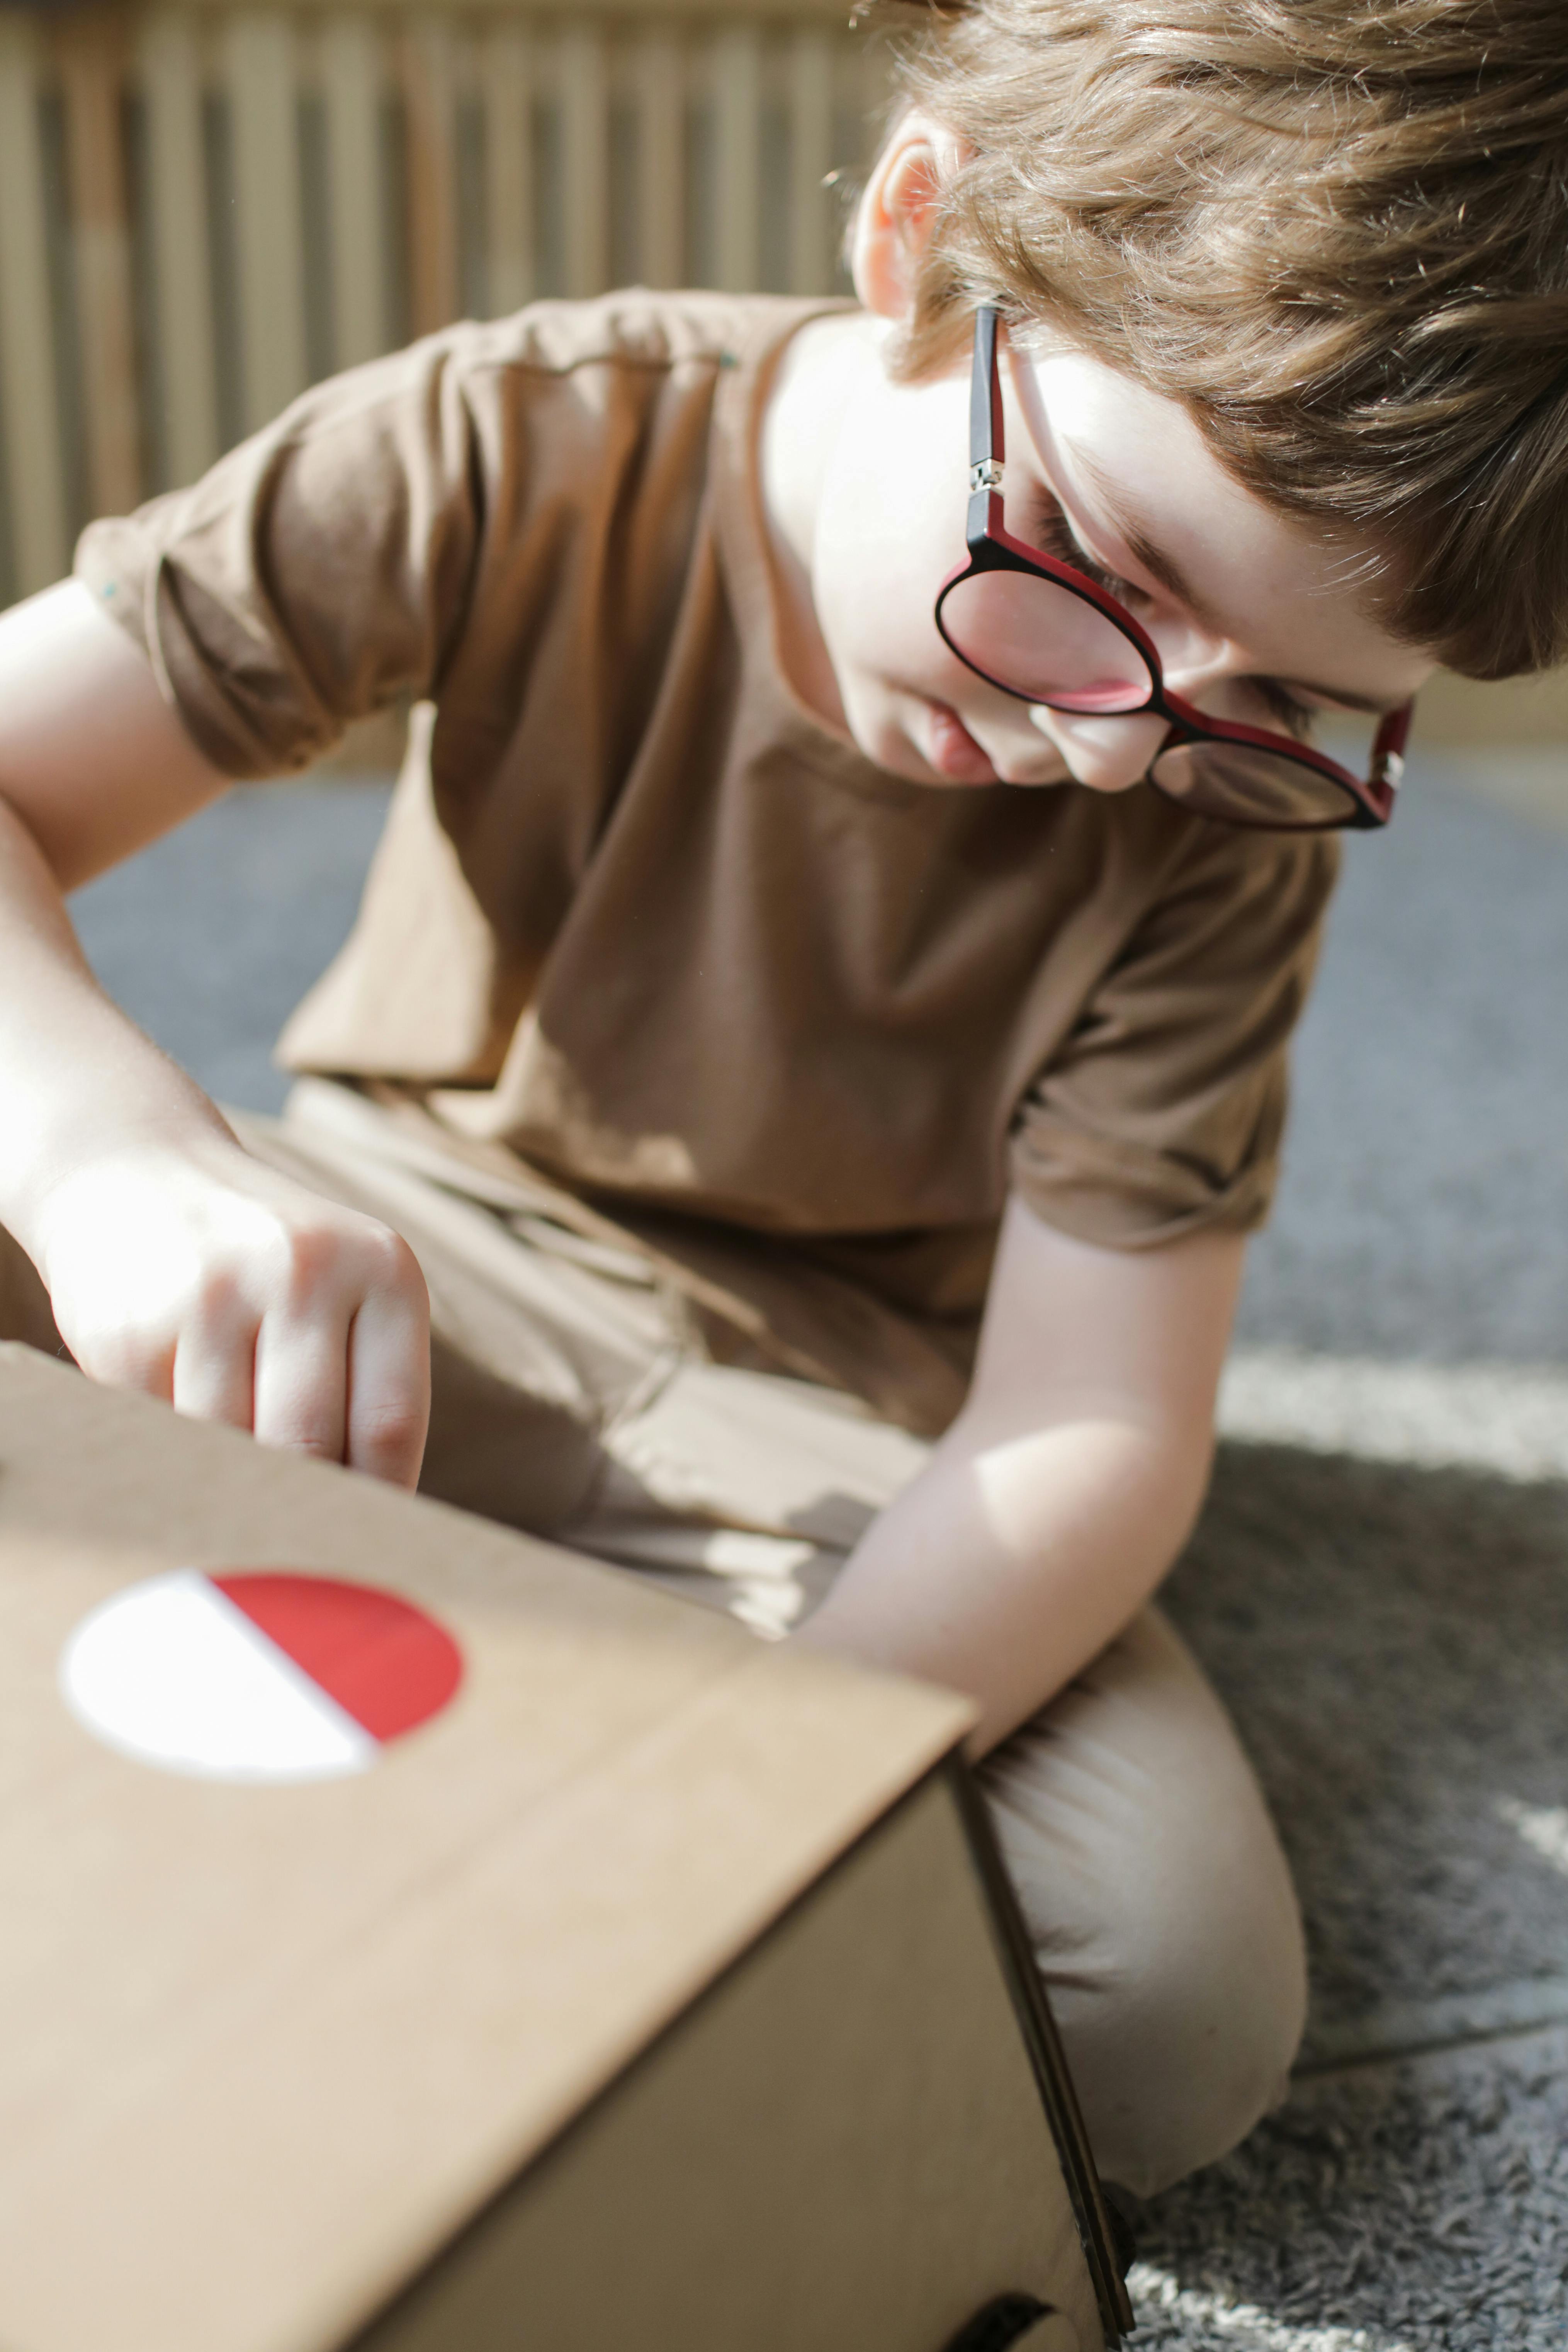
Photo by Ron Lach on Pexels.
Safety tip: Keep the playhouse well ventilated and stable. Avoid heavy roofs, sharp edges, staples, and small loose decorations that young children could swallow. Never leave children unsupervised inside a cardboard structure.
10. Homemade Cardboard Toy Garage
Children who enjoy toy cars may love having a garage made from an old cardboard box. You can create parking spaces, ramps, and small roads with simple materials.
Materials you'll need:
- Medium or large cardboard box
- Extra cardboard sheets
- Scissors or craft knife
- Glue or tape
- Markers or paint
- Small toy cars
How to make it:
- Choose a box that can hold the toy cars comfortably.
- Remove unwanted flaps and create an entrance on the front.
- Cut flat cardboard sheets to make additional floors.
- Attach the floors securely inside the box.
- Use narrow cardboard strips to create parking spaces.
- Make a ramp from a folded cardboard sheet.
- Draw road markings, parking numbers, and signs with markers.
- Test the structure with the toy cars before decorating it further.
Keep the garage on a flat surface and make sure its floors and ramps are firmly attached.
11. DIY Cardboard Marble Run
A cardboard marble run is a creative activity that introduces children to simple problem-solving. They can experiment with slopes, turns, and different pathways to see how a marble moves.
Materials you'll need:
- Large flat cardboard sheet
- Narrow cardboard strips
- Glue or strong tape
- Pencil and ruler
- Marbles
- Optional markers for decoration
How to make it:
- Use a large cardboard sheet as the backing.
- Cut narrow strips to form the sides of the marble tracks.
- Arrange the strips at different angles to create a pathway.
- Attach small barriers along the edges.
- Leave enough space for the marble to roll freely.
- Test the track and adjust the slopes if the marble gets stuck.
- Add more turns or a small finishing area at the bottom.
Helpful tip: Test each section before decorating the whole track. This makes it easier to fix areas where the marble slows down or falls off.
Safety tip: Marbles are choking hazards. Keep this project away from babies and young children, and supervise children during play.
12. Decorative Cardboard Trays
A homemade cardboard tray can hold lightweight accessories, craft supplies, remote controls, or small decorative items. You can make it in a size that fits your table or shelf.
Materials you'll need:
- Thick cardboard
- Ruler and pencil
- Scissors or craft knife
- Glue
- Decorative paper or fabric
- Optional cardboard for handles
How to make it:
- Cut a rectangular or square piece of cardboard for the base.
- Measure and cut four strips for the side walls.
- Attach the strips around the base with glue.
- Reinforce the corners with small cardboard pieces.
- Add another layer to the bottom if the tray feels flexible.
- Cover the tray with fabric, paper, or paint.
- Attach small cardboard handles if you want them.
Use the tray for dry, lightweight items only. Cardboard is not suitable for liquids, hot objects, or heavy loads.
13. Cardboard Jewelry Organizer
Necklaces, earrings, rings, and bracelets can become tangled when stored together. A simple cardboard organizer can help keep small accessories separated.
Materials you'll need:
- Flat, sturdy cardboard
- Small cardboard box or tray
- Fabric or decorative paper
- Ruler and pencil
- Glue
- Optional small hooks
How to make it:
- Measure the inside of a small storage box or drawer.
- Cut a cardboard base that fits inside.
- Cover the base with fabric or decorative paper.
- Add narrow cardboard dividers to create separate compartments.
- Make small holes along one section for earrings.
- Add suitable small hooks for lightweight necklaces if needed.
- Place the finished organizer inside the box or drawer.
Check that all hooks and dividers are secure. Avoid sharp metal pieces or exposed staples.
14. DIY Cardboard Book Holder
A cardboard book holder can keep lightweight books and notebooks upright on a desk or shelf. It is a useful project for a reading corner or study space.
Materials you'll need:
- Thick corrugated cardboard
- Ruler and pencil
- Scissors or craft knife
- Glue
- Extra cardboard for reinforcement
- Decorative paper or paint
How to make it:
- Cut a rectangular cardboard piece for the base.
- Cut two matching triangular pieces for the side supports.
- Attach the supports to the base at an angle.
- Add a slanted cardboard panel between the supports.
- Attach a narrow strip along the bottom to stop books from sliding.
- Reinforce the joints with extra cardboard.
- Cover the holder with decorative paper or paint.
This holder works best with lightweight books and notebooks. Add more support if the structure bends under the weight.
15. DIY Cardboard Cat Scratcher
If you have a cat, clean corrugated cardboard can become a simple scratching surface. Its layered texture gives cats something to scratch while helping you reuse packaging.
Materials you'll need:
- Clean corrugated cardboard
- Shallow cardboard tray
- Ruler and pencil
- Scissors or craft knife
- Non-toxic glue
How to make it:
- Cut several cardboard strips to the same width.
- Arrange them tightly inside a shallow cardboard tray.
- Keep the corrugated edges facing upward.
- Add more strips until the tray is filled.
- Secure the pieces with a small amount of suitable glue.
- Allow the glue to dry completely before offering the scratcher to your cat.
- Place it on a stable surface where your cat can reach it.
Use clean, dry, untreated cardboard. Avoid strong fragrances, loose staples, sharp edges, and exposed adhesive. Replace the scratcher when it becomes damaged or sheds excessively.
Tips for Making Cardboard Crafts Stronger and More Attractive
A little preparation can make a big difference to the finished result. Cardboard is easy to work with, but thin pieces and weak joints can bend if you don't reinforce them.
Choose the right thickness. Corrugated cardboard is useful for storage bins, trays, toy garages, and larger structures. Thin paperboard from cereal boxes works better for labels, templates, and decorative shapes.
Reinforce important areas. Add another cardboard layer to bases, corners, handles, and joints. This helps your project keep its shape.
Measure before cutting. Mark straight lines with a ruler and pencil. Accurate measurements make it easier to fit pieces together.
Let the glue dry. Don't move or fill a project while its joints are still wet. Give it enough time to dry according to the glue manufacturer's instructions.
Decorate in thin layers. Paint can make cardboard damp and soft. Apply thin coats and let each one dry before adding another.
Keep finished crafts dry. Cardboard can warp or weaken when exposed to moisture. Store your projects in a dry place.
How to Choose the Right Cardboard for Your Projects
Different projects need different types of cardboard. Choosing the right material can make construction easier and help the finished item stay in shape.
Corrugated cardboard has a fluted middle layer between two flat sheets. This makes it a good choice for storage bins, trays, toy garages, and other projects that need more support.
Thin paperboard, such as cereal boxes and lightweight packaging cartons, is better for small decorations, labels, picture-frame details, and templates.
Before using any box, check that it is clean, dry, and free from mold, grease, or unpleasant odors. Avoid wet or damaged packaging.
Frequently Asked Questions
1. What are some easy crafts using cardboard boxes?
Some beginner-friendly ideas include pencil holders, storage bins, picture frames, drawer dividers, gift boxes, and decorative trays. Most need only cardboard, glue, scissors, and basic decorating supplies.
2. What can children make with cardboard boxes?
Children can help decorate playhouses, toy garages, picture frames, and simple cardboard toys. Adults should handle sharp cutting tools and supervise activities involving small parts or marbles.
3. What type of cardboard is best for DIY crafts?
Corrugated cardboard is useful for larger projects that need support. Thin paperboard works well for smaller decorations, labels, and lightweight craft details.
4. What glue works best for cardboard crafts?
White PVA craft glue works well for many basic projects. Hot glue can be useful for certain joints, but adults should handle the glue gun and follow its safety instructions.
5. Can you paint cardboard boxes?
Yes. Acrylic paint works on most clean cardboard surfaces. Apply thin coats and allow each layer to dry before adding another. Too much moisture can soften or warp cardboard.
6. How can I make cardboard crafts stronger?
Use multiple layers for important sections, reinforce corners and joints, and choose corrugated cardboard for larger structures. Let the glue dry completely before using the project.
7. How can I decorate cardboard boxes at home?
You can use acrylic paint, colored paper, wrapping paper, fabric scraps, ribbons, markers, and other suitable craft materials. Choose decorations that match the purpose of your project.
8. Are cardboard crafts suitable for beginners?
Absolutely. Pencil holders, small storage bins, picture frames, and drawer dividers are good starting projects. They involve simple measuring, cutting, folding, and gluing.
Final Thoughts
You don't need expensive supplies or complicated tools to make something useful from an empty cardboard box. With a little planning and a few basic materials, you can create organizers, decorations, toys, and practical household items.
These easy crafts using cardboard boxes are a simple way to explore your creativity while giving unwanted packaging another purpose. Start with a small project, try different designs, and move on to more detailed crafts as your skills improve.
The next time a delivery box arrives at your door, think twice before throwing it away. It might be the perfect starting point for your next DIY project.
Photo Credits
- Ron Lach — Children Playing with DIY Cardboard Box Toys.
- Cup of Couple — A Person Looking Through a Cardboard File Organizer.
- Ron Lach — A Boy Creating a Toy Out of a Cardboard Box.
Photos are credited to their respective photographers and linked to their original Pexels pages.


0 Comments